How To Change Differential Fluid In Vehicles with Independent Suspension Drive Axles
How To Change Differential Fluid In Vehicles with Independent Suspension Drive Axles
February 3, 2021
Differential fluid, also known as gear oil, is crucial to the life of your vehicle, especially if you're regularly towing loads or hauling anything heavy. Luckily, learning how to change differential fluid is fairly simple for vehicles with independent suspension drive axles, even if you're a novice. We'll show you the way to do a proper differential fluid change in a relatively short amount of time.
Factors To Consider Before Changing Differential Fluid
There are several things you need to keep in mind prior to learning how to add differential fluid to your vehicle:
- Changing differential fluid is a beginner-level skill, at least for vehicles with independent suspension drive axles.
- With some experience, the process can take as little as 45 minutes, but it could also take up to two hours.
- You should change your differential fluid according to the maintenance schedule recommended by your vehicle's manufacturer, or at least every 100,000 miles — possibly sooner if you drive a truck or SUV with independent suspension that has to carry heavy loads.
- Old differential fluid smells horrible, akin to the rotten egg smell of sulfur — make sure your work area is properly ventilated.
- Always wear gloves for your protection.
How To Change Differential Fluid in Five Steps
Follow these steps for a complete differential fluid change in your vehicle that has an independent suspension drive axle.
1. Secure the Vehicle
Start by parking on a stable surface and engage the parking brake. Then, jack up the vehicle with jack stands or ramps, ensuring that you're on the jack points.
2. Drain the Used Differential Fluid
Locate, loosen and take off the drain plug on your differential housing. Allow the used differential fluid to drain completely into your catch pan.
3. Remove the Fill Bolt
If there is a separate fill bolt, locate it and remove it after replacing the drain plug.
4. Add New Differential Fluid
Put fresh fluid into the differential. This may require the use of a pump. Take your time to avoid spillage. Add the recommended amount of differential fluid — if it starts to leak out of the hole, you've got enough. Only use fluids that meet the vehicle manufacturer's differential lubricant specifications.
5. Secure the Fill Bolt
Put the fill bolt or drain plug back on securely. Clean up any spilled gear oil. Lower the vehicle, and you're done. Keep an eye out for leaks when you're driving — drive your vehicle around the block, then recheck the fluid to ensure it's at the correct level. While specific vehicles may require additional steps, these are basics for conducting a differential fluid change. Also, always make sure you properly dispose of the used fluid.
Get the Right Differential Fluid for Your Vehicle
It's important to fill your vehicle with the proper gear oil in order to keep it running. Consider the following when you're buying differential fluid:
- Weight (or viscosity)
- GL rating
- Your owner's manual
Ultimately, it's best to follow what is specified by the manufacturer. Additionally, whether you're doing a front or rear differential fluid change, cost can vary based on quality and type.
Find the Best Differential Fluid for Your Change at Torque King
Now that you know how to add differential fluid to your ride, you want to make sure you get the right products for the job. Torque King carries the best brands on the market, so you can rest assured you're getting high-quality differential fluid for your truck or 4x4. Check out our gear oil selection today!
Latest News
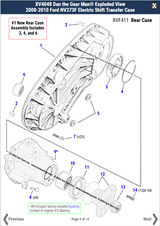
New Ford NV273F Transfer Case Exploded Views - Shop the FAST and EASY way!
New, Easy-to-Use, Interactive Ford Super Duty and Excursion Transfer Cases Exploded Views are connec...
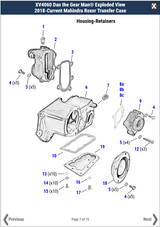
New Exploded View for 2018-Current Mahindra Roxor Transfer Cases!
New, Easy-to-Use, Interactive XV4060 Exploded View by Dan the Gear Man® for 2018-Current Mahindra...
NV5000 Manual Transmission Assembly for Dodge Ram 4x4s - Direct Replacement for NV4500HD
Available September 2024! A Direct Replacement for the NV4500HD - Upgrade today to the all new, c...
2003-2012 Ram NV271D Transfer Case Fluid and Torque Specifications, plus Recommended Mainteinance Schedule
The New Venture NV271D Manual Shift Transfer Case was the base transfer case for 2003-2012 Dodge and...
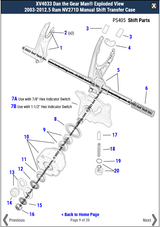
New Exploded View for 2003-2012.5 Dodge Ram Manual Shift NV271D Transfer Cases!
New, Easy-to-Use, Interactive XV4033 Exploded View by Dan the Gear Man® for 2003-2012.5 Dodge...
New Tools, Parts, Exploded Views, CAD Drawings, and Videos added in January 2023
We have added a number of new tools, parts, Exploded Views, CAD drawings, and videos to our websi...


